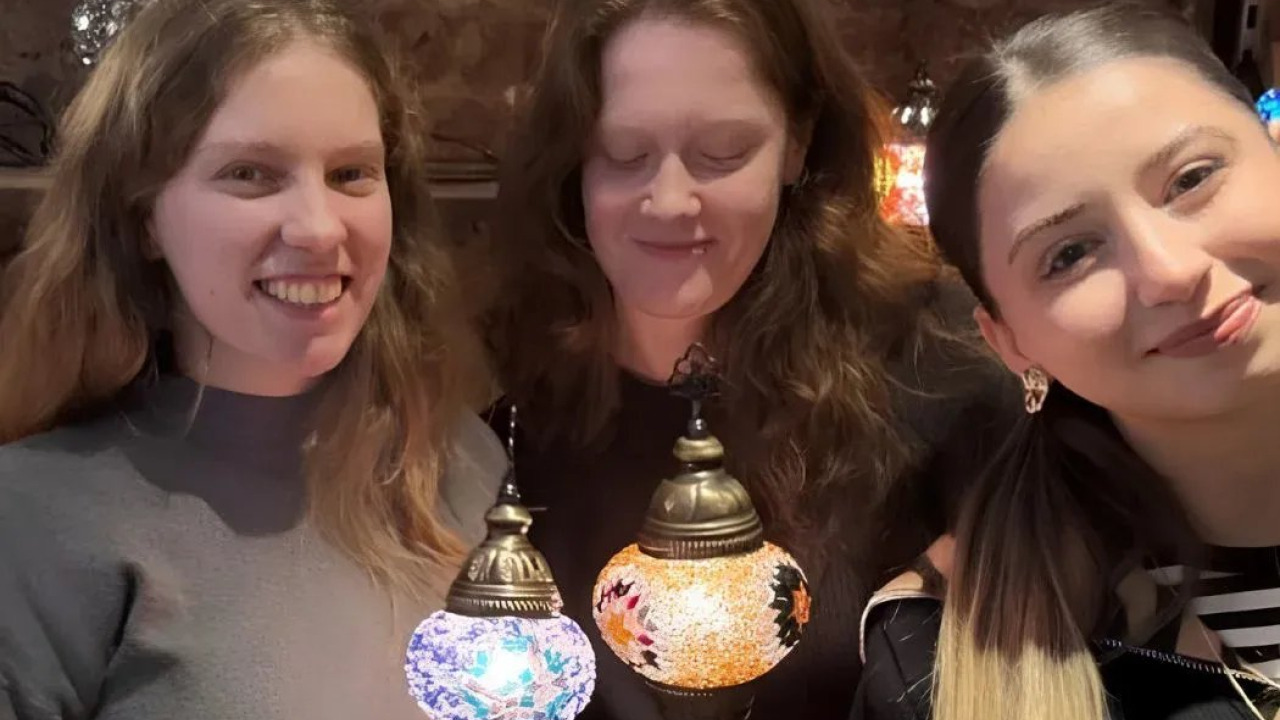
For travelers looking to bring a piece of Istanbul's historic soul home and immerse themselves in traditional craftsmanship, Istanbul Mosaic Lamp Workshop Tours offer a unique sanctuary of creativity. Set in the atmospheric workshops surrounding the Galata Tower, these sessions allow participants to blend centuries-old Ottoman lighting traditions with a modern design sensibility. The process of patiently arranging thousands of colorful glass shards and tiny beads onto a transparent sphere transforms into a meditative artistic journey for visitors from all over the world.
The vibrant mosaic lamps that once adorned Ottoman palaces and mansions reflect a mesmerizing interplay between light and space. Guided by master glass artisans in the nostalgic alleys of Galata, you can explore a rich library of traditional motifs, ranging from strict geometric patterns to flowing floral designs. Accompanied by traditional Turkish tea, the experience culminates in the satisfaction of packing your own handcrafted, glowing lamp or candle holder to take home as a lifelong souvenir.
Galata Mosaic Lamp Workshop: Quick Facts
The following summary table provides all the practical and operational details you need to know before joining an Ottoman glass mosaic workshop in the Galata district.
| Feature | Visitor Quick Summary |
|---|---|
| Workshop Location | Galata Tower Square, Serdar-ı Ekrem Street, and the Şişhane area |
| Average Duration | 2 to 2.5 hours (including design, assembly, and grouting) |
| Materials Used | Hand-cut colored glass, glass beads, clear glass spheres, and brass bases |
| Product Types | Table lamps, hanging pendants, night lights, or mosaic candle holders |
| Atmosphere & Treats | Traditional Turkish tea, fresh Turkish delight, and soft instrumental music |
| Experience Level | No prior experience required; step-by-step guidance provided by masters |
For those eager to explore Istanbul's creative side, Istanbul workshop tours and handicraft experiences offer a wealth of alternatives. If you wish to explore the historic district on foot, our Galata travel guide and historic street routes is the perfect companion.
History and Aesthetics of Traditional Mosaic Glass Art
The art of mosaic lanterns and chandeliers, which flourished in the palace glass workshops of the Ottoman era, is a sophisticated blend of Byzantine and Islamic glass-working legacies. Particularly during the 18th and 19th centuries, these lamps were used everywhere from imperial palaces to Bosphorus waterfront mansions, casting a dim, mystical glow over the interiors. The reflections created by colored glass and candlelight added a profound aesthetic depth to these spaces.
The most defining characteristic of mosaic lamps is that every piece of glass is carefully hand-cut and arranged in geometric harmony. Motifs such as the Seljuk star, tulips, carnations, and spirals are among the most popular choices. Today, the workshops in the streets of Galata preserve this deep-rooted craft, inviting visitors to become part of the production process.
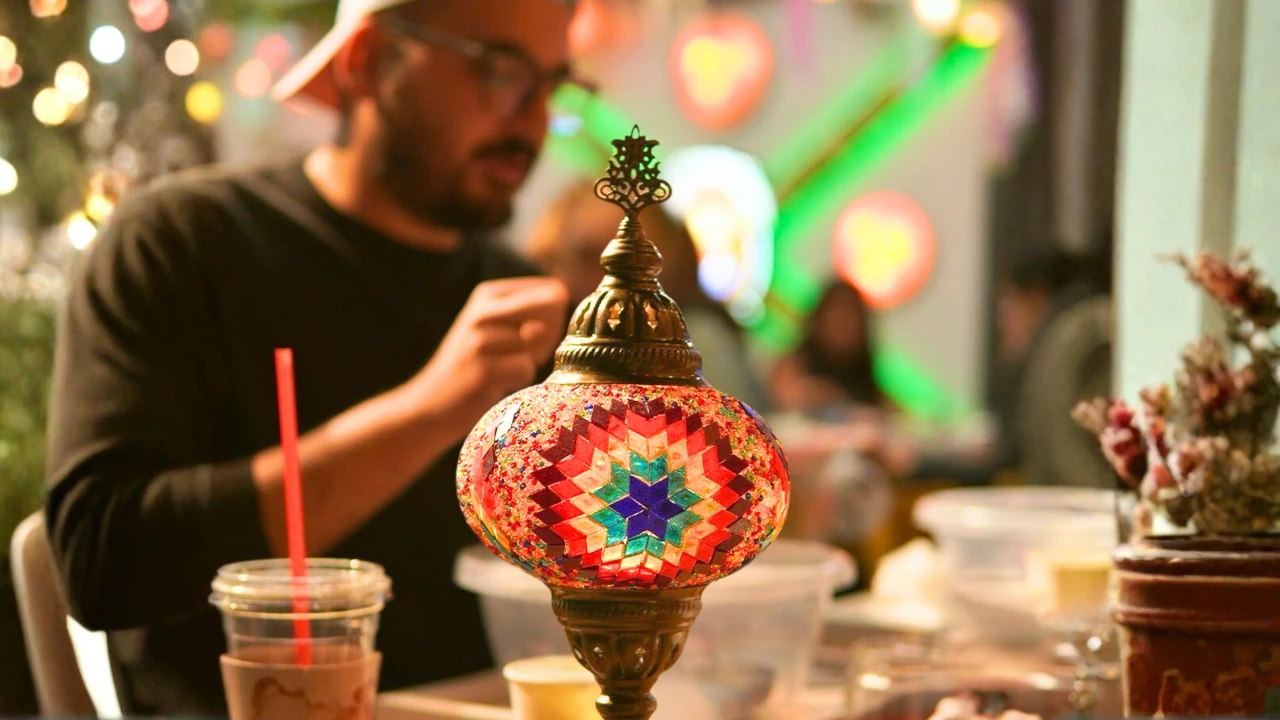
Step-by-Step: How to Make a Mosaic Lamp in Galata
Creating a mosaic lamp is a rewarding process that combines patience, precision, and a keen eye for color. Throughout the workshop, participants bring their designs to life one step at a time.
Selecting the Pattern and Color Palette
Upon entering the workshop, you'll find clear glass spheres and bowls filled with hundreds of different shades of cut glass on your workbench. Instructors first introduce traditional geometric templates. You can then plan your color harmony, choosing from emerald green, cobalt blue, ruby red, or amber yellow based on your personal taste.
Adhering Glass Pieces to the Sphere
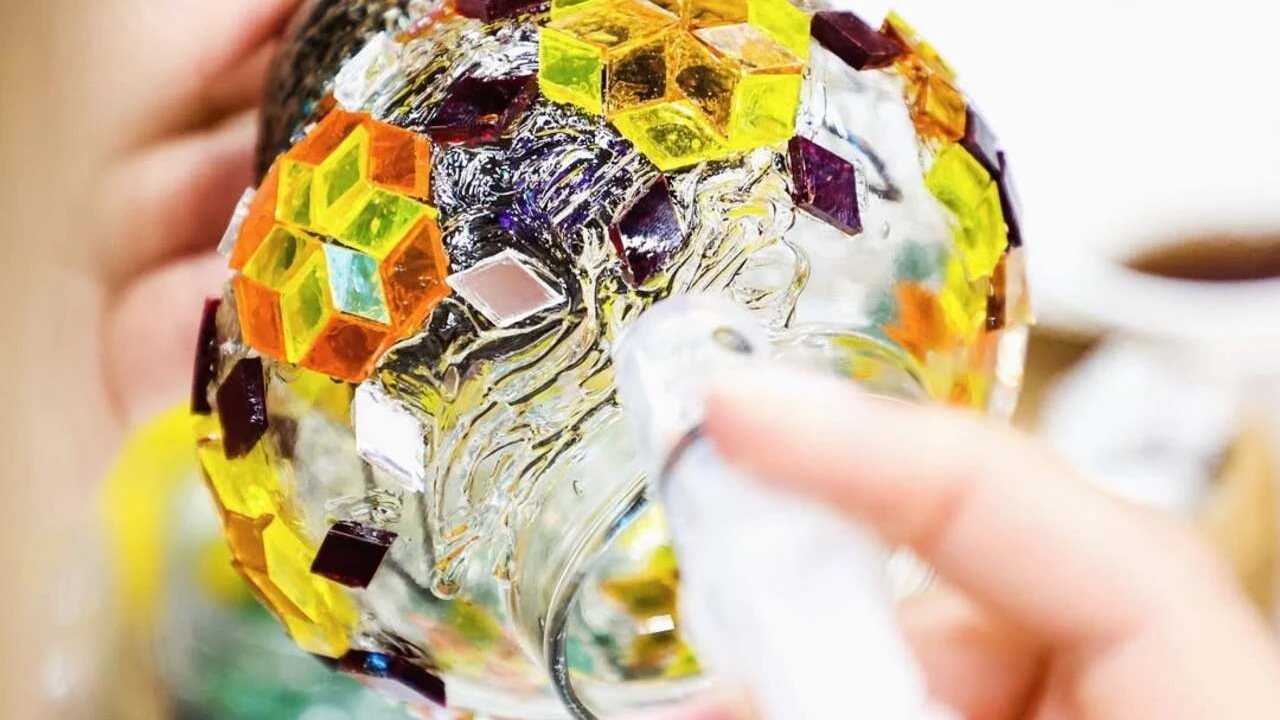
Once the pattern is decided, a special silicone-based transparent adhesive is applied to the glass sphere. Using tweezers or fingertips, glass pieces in the shape of equilateral triangles, squares, and diamonds are meticulously placed. Leaving symmetrical gaps between the glass pieces is crucial for a balanced and professional look.
Filling the Gaps with Glass Beads
After the main glass pieces are set, tiny glass beads are sprinkled into the remaining empty spaces. The adhesive surface is gently pressed into the bead bowl to ensure all gaps are filled smoothly. This stage gives the lamp its rich texture and enhances the diffusion of light.
Grouting and Final Cleaning
Once the adhesive has set, a special white grout (plaster) is prepared. The grout is rubbed into the glass sphere using circular motions, ensuring it penetrates deep between the glass pieces. Finally, a damp sponge is used to wipe away the excess grout, revealing the clarity and brilliance of the design.
Comparison of Mosaic Lamp Models and Technical Specs
Depending on your preference, you can choose from various sizes and formats. Here is a comparison of the options typically available in the workshops.
| Lamp Model / Product | Sphere Diameter | Avg. Production Time | Lighting Type | Best Use / Decoration Area |
|---|---|---|---|---|
| Mosaic Candle Holder | 8 – 10 cm | 1.5 hours | Tealight or LED candle | Dining tables, balconies, bookshelves |
| Classic Table Lamp | 12 – 14 cm | 2 – 2.5 hours | E14 LED bulb (Electric) | Desks, nightstands, living room consoles |
| Swan-Neck Lamp | 14 – 16 cm | 2.5 – 3 hours | E14 LED bulb (Curved base) | Reading nooks, cozy living room corners |
| Ottoman Pendant Lamp | 16 – 18 cm | 3 hours | Ceiling-mounted chain cable | Entryways, cafe corners, winter gardens |
| Multi-Tier Chandelier | 20+ cm | 3.5 – 4 hours | Multi-lamp group element | Large halls, hotel lobby lighting |
Most beginners opt for the classic table lamp or the swan-neck model. These are ideal in terms of production time and provide highly functional lighting for any home environment.

5 Golden Rules for a Successful Mosaic Design
To achieve a high-quality result and ensure safety while working with glass and adhesives, keep these professional tips in mind:
- Finger Protection: Although the glass pieces are tumbled to round off sharp edges, avoid applying excessive pressure when using tweezers.
- Balanced Glue Application: Too much glue can cause the glass to slide; too little may cause beads to fall off. A thin, homogeneous layer is the secret to success.
- Symmetry and Spacing: Clumping glass on one side and leaving gaps on the other disrupts the light distribution. Ensure the design progresses with equal spacing around the sphere.
- Patience Before Grouting: Wait at least twenty minutes for the adhesive to fully grip the glass before moving to the grouting stage to prevent pieces from shifting.
- Safe Transport: When leaving the workshop, ensure the glass sphere is wrapped in bubble wrap and the metal base is stored in a separate protective compartment.
Pro Tips for Workshop Participants
To get the most out of your Galata mosaic experience, consider the following:
- Dress Comfortably: Wear clothes that are comfortable and not easily stained, as there is a chance of grout or glue splashes.
- Plan Your Palette: Think about which room in your home the lamp will live in and consider the colors of your furniture before choosing your glass.
- Use the Templates: If it's your first time, follow the geometric templates provided by the instructors to easily achieve perfect symmetry.
- Travel-Ready Packaging: If you are visiting from abroad, request the reinforced, flight-safe boxes provided by the workshop for secure transport in your luggage.
The Radiant Legacy of Galata's Streets
The slopes descending from the Galata Tower to the Karaköy waterfront have always been a meeting point for artists and master craftsmen. The echoes of hammers and the shimmer of glass within the Genoese stone architecture form the living spirit of the neighborhood. Today, the mosaic workshops located on the ground floors of these historic buildings allow visitors to experience Istanbul's rich handicraft tradition firsthand.
Stepping out into Galata Square with your own custom-designed lamp in hand strengthens your connection to the district's history. When you plug in your lamp back home, the colorful halos of light filling your room will serve as the warmest memory of your journey to Istanbul.
Frequently Asked Questions 5
Do I need artistic skill or experience to join the workshop?
Not at all. No prior experience in handicrafts or glasswork is required. Instructors guide you through every stage, from applying glue to placing glass and grouting, ensuring a stress-free and creative process.
Can I take my lamp home on the same day?
Yes. Thanks to fast-drying adhesives and modern grouting techniques, completed lamps are packaged in bubble wrap and handed over to participants on the same day. We simply recommend letting it rest in a dry place for 24 hours.
Are the lamps compatible with international electrical systems?
Yes. The brass bases provided in the workshop feature cables, switches, and E14 sockets that meet international electrical safety standards. They are fully compatible with Turkish and European outlets, and work with American outlets using a simple adapter.
Can children participate in the mosaic lamp workshop?
Generally, children aged seven and older can participate with parental supervision. Since the glass pieces are rounded and the grout is water-based, it is a safe and wonderful activity for developing hand-eye coordination.
Does the workshop fee include all materials and the lamp base?
Yes. The tour and workshop reservation includes the glass sphere, colored glass, beads, adhesive, grout, brass-plated metal base, electrical wiring, and a protective carrying box.